Useful Development
Angular CLI: HTTPS on Windows
First up there is a pre-requisite for this process, you will need to have a bash terminal installed. Both Git Bash or Bash on Ubuntu on Windows are good. I recommend using Visual Studio Code with an integrated bash terminal. See the Vs Code documentation here for more details. This walk-through assumes you are using Git Bash and in the root of your project.
Angular CLI has supported running a project with ssl for some time using the --ssl argument.
ng s --ssl
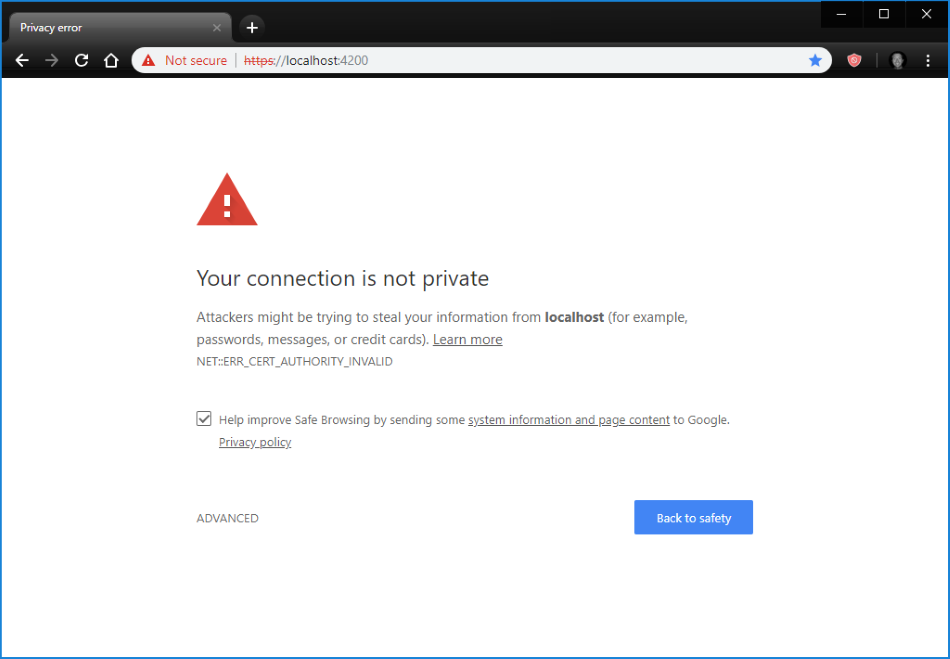
If you go ahead and run this you can view the app on https://localhost:4200 but the browser (Chrome in the example) will warn that it does not trust the certificate used is invalid

You can get past this error in the advanced options but the local site will still show as being not secure which will cause problems with the browser potentially blocking the app from doing all sorts of things. This is particularly an issue with auth call backs and hidden iframes for token refreshes.
To get round this Windows needs to trust the certifcate on the local machine. Angular CLI uses webpack-dev-server to serve the app locally. The first step is to create a certificate from the webpack dev server pem file. To do this open a bash terminal under the project root and run the two commands below. Note ng s --ssl must have been run once for the pem file to be created.
        cd node_modules/webpack-dev-server/ssl
        openssl x509 -outform der -in server.pem -out server.crt
2022 update: the server.pem can now be found under node_modules/.cache/webpack-dev-server
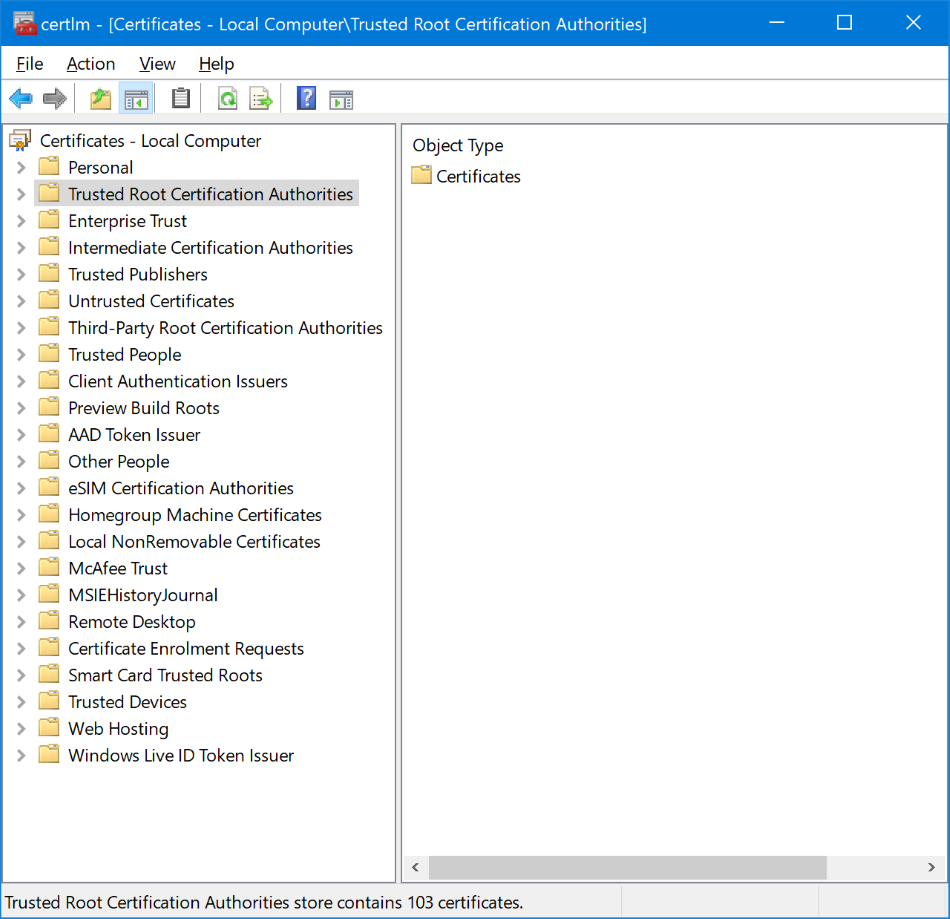
Next to trust the certificate. Open Manage Computer Certificates from the Control Panel or search bar.

Right click on Trusted Root Certification, click on All Tasks >Import. Accept the default store location of Local Machine and on the next screen select the server.cert file you just created (/your-project/node_modules/webpack-dev-server/ssl).
Now the certificate has been trusted close all open browser windows and when you open the browser again you should see that the site is now trusted.

